The Raspberry Pi has been able to mobilise masses of tinkerers and get them to realize their own project, just months after its release. As time went on, I also gathered different versions of this small computer and I even realized a range of experiments with this little computer. Especially for radio amateurs, this small computer is interesting, because you can do useful things easily and without great effort. In combination with a DVB-T dongle or another supported SDR, a Web-SDR receiver can be assembled in a short time. Soldering isn’t required, the tinkering is only done in software. By use of Web-SDR, you can use virtually any browser to access your own hardware and antenna – if desired even via internet. Moreover, an open access to your own SDR receiver can be shared with other radio amateurs and friends. A project like that makes technically adept, but unlicenced friends curious. One or another will become SWL or maybe radio amateur later.
To realize a Web-SDR, a Raspberry Pi or a computer running Linux is needed. The software solution, which is realizing the user interface as a website, is called OpenWebRX. OpenWebRX uses the demodulators integrated into libcsdr and can demodulate AM, FM and SSB signals. The application is using HTML5 and modern technologies like web sockets and the WebAudio API. Basically, the software can run on a Raspberry Pi 1 model B. This is not advisable, though, as it is tremendously slow and no really useable. A faster computer like e.g. a Raspberry Pi 2 or 3, should absolutely be used. A normal PC running Debian Linux or Ubuntu can also be used. The following instruction concentrates on the Raspberry Pi running Raspbian as the operating system.
Receiver
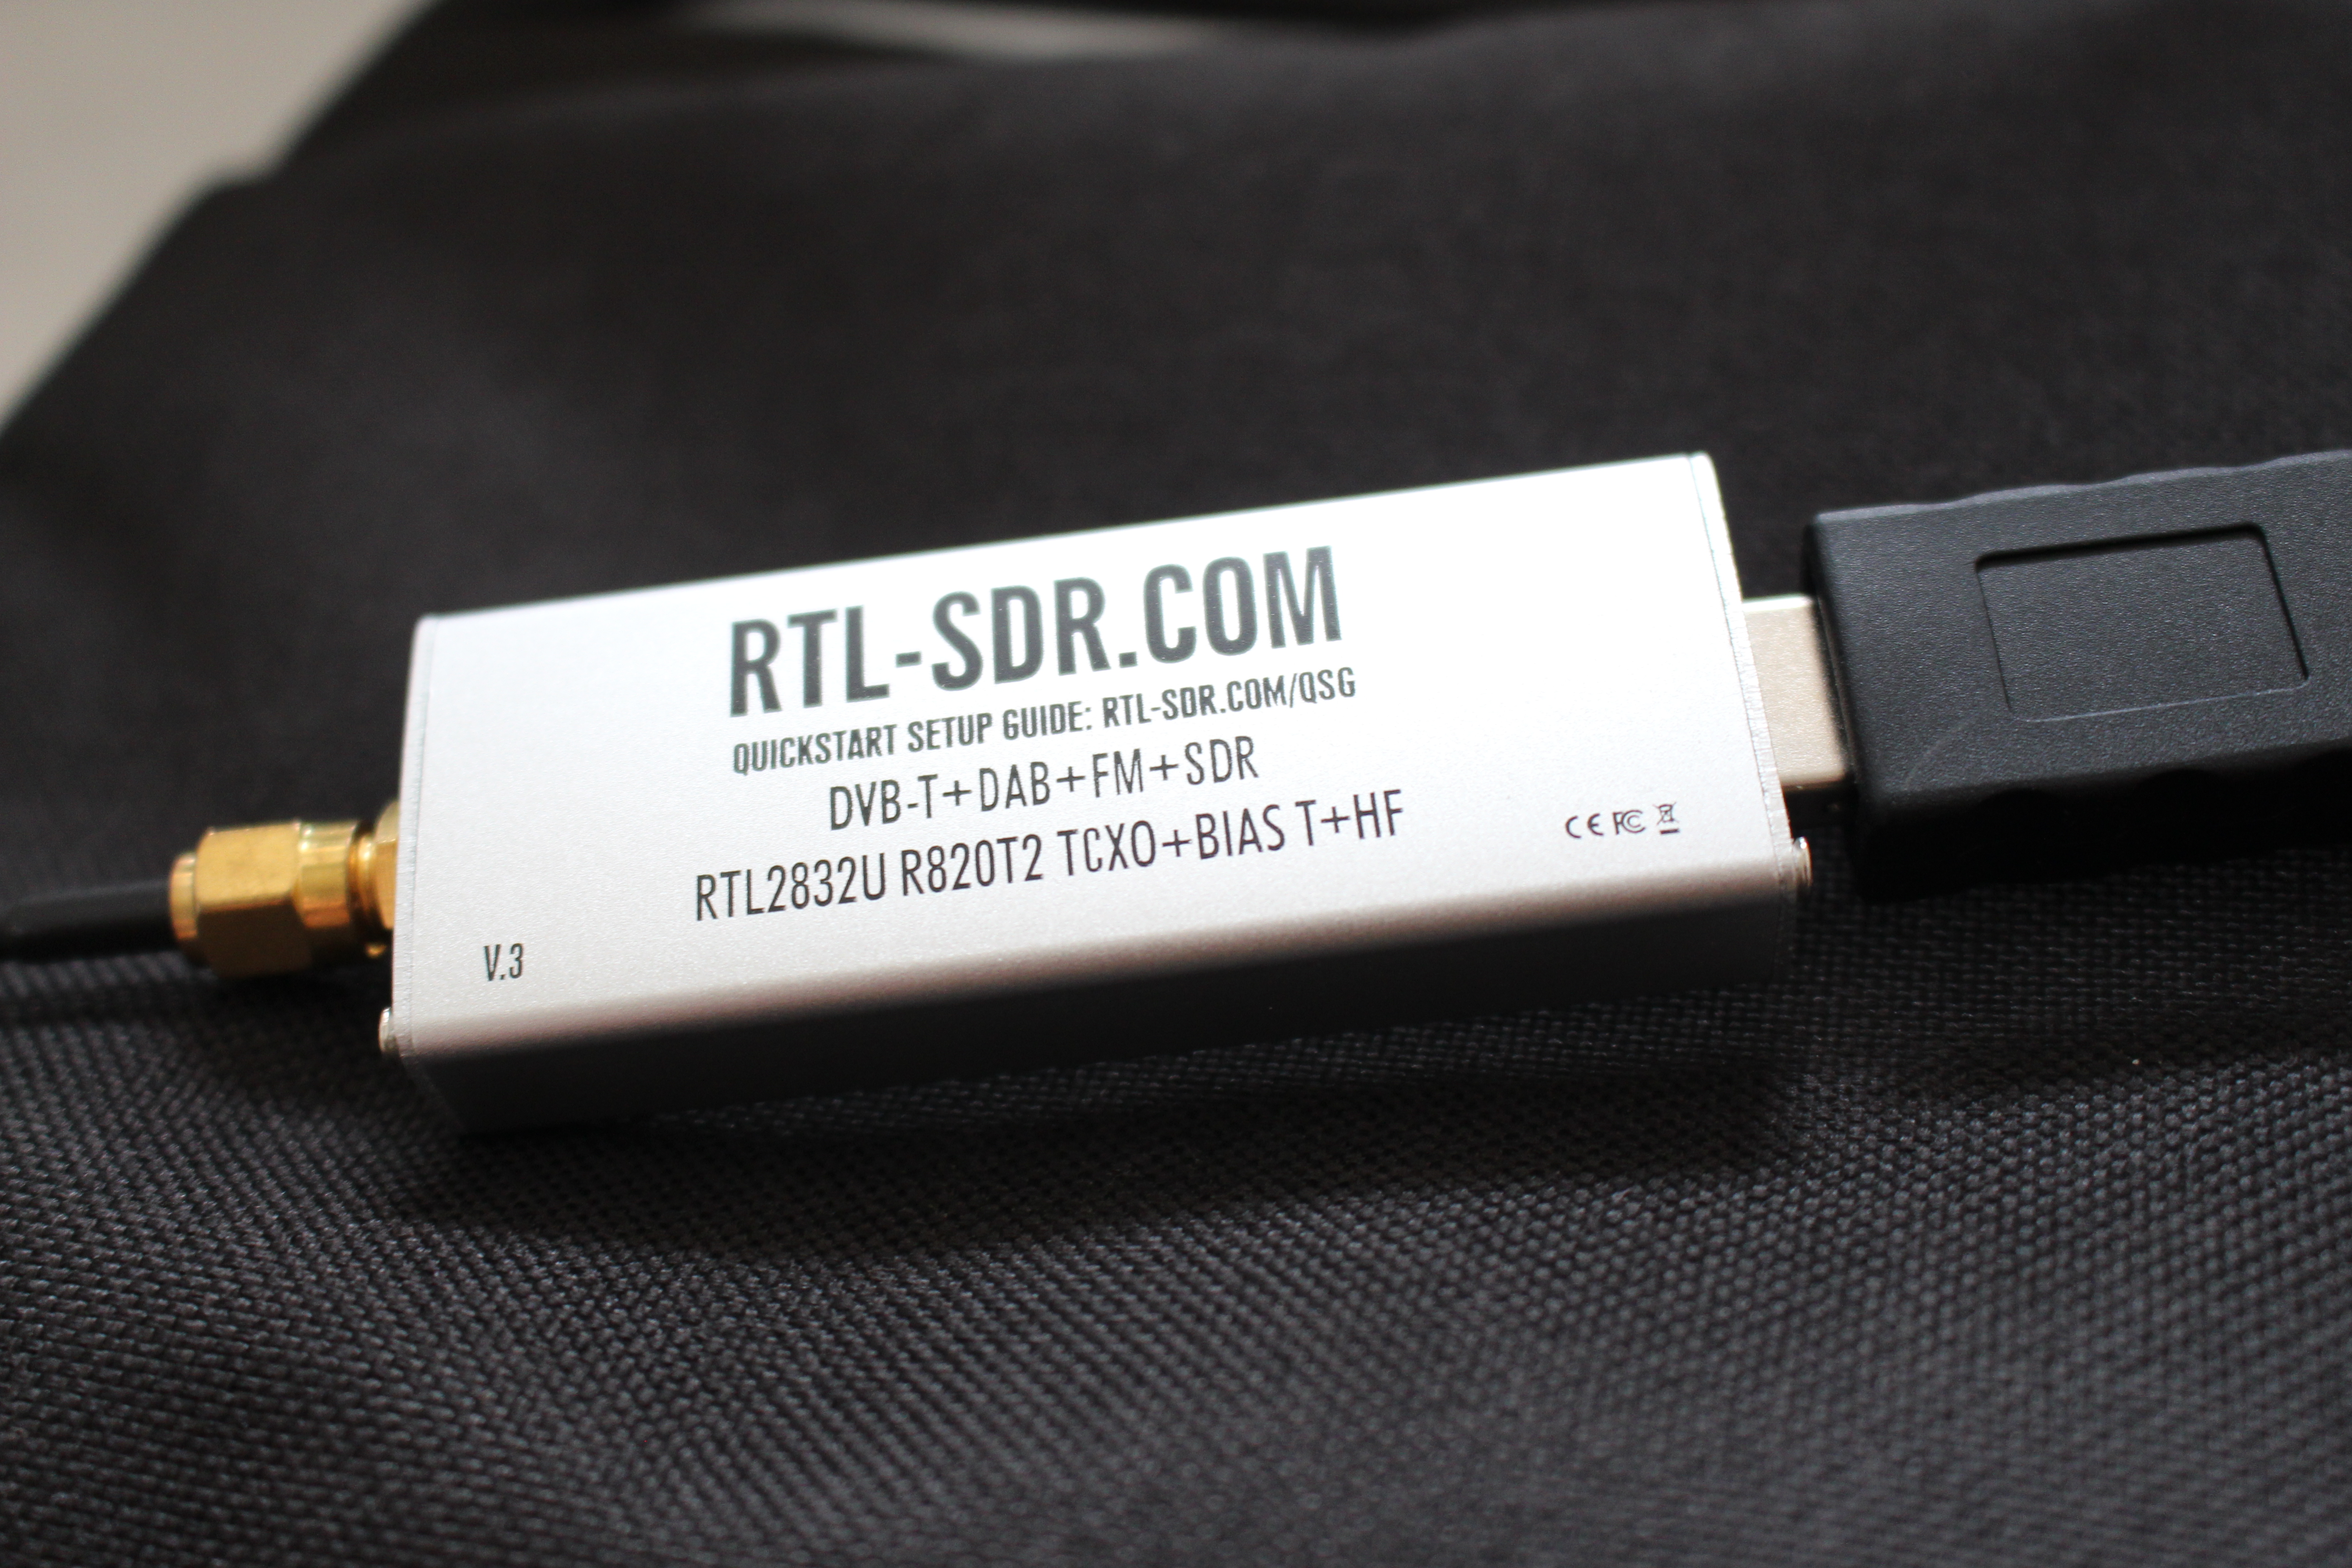
As a receiver, we are using a DVB-T dongle, like it is often used as a SDR by radio amateurs. Before buying a new dongle, it is obligatory to look for compatibility or use another SDR straight away, such as the DXPatrol. OpenWebRX supports the HackRF besides the RTL-SDR. The support of the SDRplay is at an experimental stage. More Information regarding supported receivers can be found in the OpenWebRX wiki.
Preparation
Before the actual installation, you should make sure that you’re using a current version of Rasbian on your Raspberry Pi. To get the software on the device up-to-date, you type the following two lines into the shell.
sudo apt-get update
sudo apt-get upgrade
Following this, you install some software, which is needed to compile and run the system later.
sudo apt-get install build-essential git libfftw3-dev cmake libusb-1.0-0-dev nmap git
To contact this this instruction, we’re going to create a workig directory using the command mkdir ~/src which we’ll use later to store the downloaded files. Once all programs have been installed correctly, the installation of the DVB-T dongle follows. Raspbian ships drivers for DVB-T dongles, but unfortunately these cannot be used for our planned purpose. Because of that, the driver will be deactivated by using the editor.
The following three lines have to be added to /etc/modprobe.d/raspi-black-
list.conf and then saved.
blacklist dvb_usb_rtl28xxu
blacklist rtl_2832
blacklist rtl_2830
Before the new driver can be used, the old driver has to be removed. This is done using the following command:
sudo rmmod dvb_usb_rtl28xxu
Provided, an error message appears, the driver hasn’t been loaded. The message can be ignored. We’re going to load the latest driver directly from the repository of the developers. Following this, the packets will be compiled. To do this, we have to enter the following commands into the shell.
cd ~/src
git clone git://git.osmocom.org/rtl-sdr.git
cd rtl-sdr
mkdir build
cd build
cmake ../ -DDETACH_KERNEL_DRIVER=ON -DINSTALL_UDEV_RULES=ON
make
sudo make install
sudo ldconfig
The compiling should be successful, if all the steps above have been performed correctly. To test the dongle and to find out the the possible values for the gain, the command rtl_test can be used. If the output of rtl_test is free of errors, everything’s fine.
If you can’t run the command rtl_test without root privileges, thus without sudo at the beginning, then the udev rules have to be installed. To do that, we enter the command lsusb and look for the DVB-T dongle in the output.
pi@raspberrypi:~/src/openwebrx $ lsusb
Bus 001 Device 005: ID 0bda:2838 Real-
tek Semiconductor Corp. RTL2838 DVB-T
Vendor and product IDs of my dongle can be found in the output. Please enter the IDs of your dongle into /etc/udev/rules.d/rtl-sdr.rules as following.
SUBSYSTEMS=="usb", ATTRS{idVendor}=="0bda", ATTRS{idProduct}=="2838", MODE:="0666"Installation of OpenWebRX
In the next step, OpenWebRX will be installed and configured. Because of the use of the library libcsdr by OpenWebSDR, it has to be compiled and installed first. First, go to the working directory using cd ~/src. Following this, libcsdr will be downloaded and compiled using the following commands.
git clone https://github.com/simonyiszk/openwebrx.git
git clone https://github.com/simonyiszk/csdr.git
cd csdr
make
sudo make install
Configuration of OpenWebRX
Adter OpenWebRX has been installed, it has to be configured. The configuration is done in the test file config_webrx.py.
nano ../openwebrx/config_webrx.py
The configuration file itself is commented extensively and detailed. In the section Serversettings, you should at least reduce the setting max_clients to a lower value. There is defined how many users are allowed to connect to the web interface at the same time. Additional settings are needed lines 43-58 to customize the WebSDR to your own needs. There, details like call sign, locator, height, antenna and receiver will be entered. Besides that, you can place geo coordinates. On the website, a picture of the region will be shown. The height and description of the picture will also be configured on these lines. The picture file can be copied to the Raspberry Pi using WinSCP. It will be stored as openwebrx-top-photo.jpg on the path /home/pi/src/openwebrx/htdocs.
The settings for the SDR will be set in the section DSP/RX settings. Among other things, the center frequency (center_freq) to which the receiver will be set, is important. Also the sample rate, the frequency correction and the gain can the set to your needs. The configuration file is already prepared for DVB-T dongles. OpenWebRX is started using the following command:
/home/pi/src/openwebrx/openwebrx.py
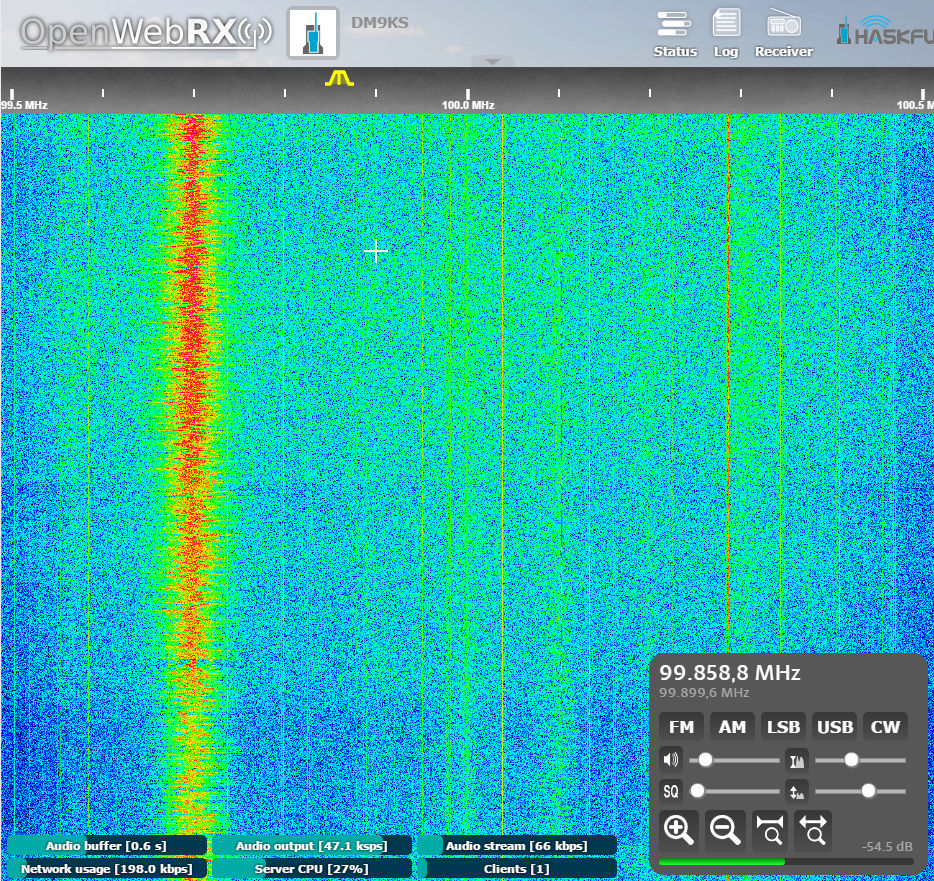
The webserver provided by OpenWebRX is listening on the address of the Raspberry Pi. Using the browser, the web interdface of the SDR can be accessed. To do that, the IP address of the Raspberry Pi needs to be entered, followed by a colon and the port 8073.
![]()
Sharing the WebSDR with others
Of course, in combination with a dynamic DNS service or a permanent public IP, the OpenWebRX can be shared with friends of your club. To do that, you need to forward the port on your router/modem. If you want to share your OpenWebRX publicly via www.sdr.hu, you can register on www.sdr.hu/register to receive a distinct key for identification of the SDR. This key can then be entered in the section sdr.hu listing of the configuration file.
sdrhu_key = "xxxxxxxxxxxxxxxxx"
sdrhu_public_listing = True
The weakest link is the DVB-T dongle as the receiver in this configuration, but this component can be improved or replaced. This example makes clear what’s possible using SDRs, small computers and interconnection using internet or HAMNET.
Deutsch
Can you help me solve this problem?
OpenWebRX – Open Source SDR Web App for Everyone! | for license see LICENSE file in the package
_________________________________________________________________________________________________
Author contact info: Andras Retzler, HA7ILM
[openwebrx-main] Configuration script not specified. I will use: “config_webrx.py”
[openwebrx-main] nmux_bufsize = 602112, nmux_bufcnt = 84
[openwebrx-main] Started rtl_thread: rtl_sdr -s 2400000 -f 144250000 -p 0 -g 5 -| nmux –bufsize 602112 –bufcnt 84 –port 4951 –address 127.0.0.1
[openwebrx-main] Waiting for I/Q server to start…
Illegal instruction
Found 1 device(s):
0: Realtek, RTL2838UHIDIR, SN: 00000001
Using device 0: Generic RTL2832U OEM
Found Rafael Micro R820T tuner
[R82XX] PLL not locked!
Sampling at 2400000 S/s.
Tuned to 144250000 Hz.
Tuner gain set to 3.70 dB.
Reading samples in async mode…
Allocating 15 zero-copy buffers
Signal caught, exiting!
Short write, samples lost, exiting!
User cancel, exiting…
for error 404..you have to change this line server_hostname = “http: // localhost” in config_webrx.py